
I've been absolutely thrilled moving my home dev world back to Fedora. I'm not fighting OS ads, virtualization just works, and my settings actually stay the same after updates. I am, however, missing AutoHotkey. It's been an integral part of my computing world since undergrad. I've spent the better part of three years looking for a POSIX AHK clone with no luck.
I've tossed around the idea of starting something similar for some time now. Obviously I don't have the expertise to make anything near as streamlined as AHK, but I do have the muleheadness to spend an entire weekend trying to bum a word or two from an awk chain. Tenacity is a useful trait when you have absolutely no idea what you're doing.
Background
Several months ago I began drafting a project along these lines. I think RobotJS is pretty neat, and I've been looking for an excuse to use it. Bundling it via Electron would make the result consumable everywhere, sidestepping the AHK-proprietary concern.
However, Electron is a Chromium wrapper. It's got a ton of bloat and the whole Chromium thing to worry about. I typically hit my macros pretty hard, so an app that has to juggle many intensive GUI actions while being an intensive GUI might not be the best. (Note: I didn't actually pursue this, so I could be totally wrong and Electron might be faster.) I decided to mess around with a few other ideas this weekend.
I'd like to build something simple this weekend to figure out a few new components. I don't have any set goals, but these things are in the back of my head:
- Lightweight: When Electron is your baseline everything's an improvement
- Cross-platform: If nothing else, the RHEL and Debian ecosystems
- Fast: I feel like 10+ ops a second isn't asking too much
Software
I mention some software during this post. I install everything here, but I remove some of it later. YMMV. If you're in the Debian ecosystem, this should work but the packages will probably have completely different names.
-
$ sudo dnf install xdotool
-
$ sudo dnf install ImageMagick
-
xwd: You might have to hunt for this executable's provider.$ dnf provides xwd
Last metadata expiration check: 0:10:01 ago on Sun 14 Jan 2018 06:28:40 AM UTC.
xorg-x11-apps-7.7-18.fc27.x86_64 : X.Org X11 applications
Repo : fedora
Matched from:
Provide : xwd = 1.0.6
$ sudo dnf install xorg-x11-apps -
Depending on your Python setup, you might already have these external dependencies.
$ sudo dnf install \
        python{2,3}-{tkinter,xlib} \
scrot -
Finally, for good measure, check the
pipdependencies:$ pip install --user \
pyautogui \
Xlib
My First Cursor Position
You can't automate the mouse if you don't know where it is. xdotool provides fast and easy access to the cursor (among other things!).
$ xdotool getmouselocation |
The only downside is trying to consume this. It might be a better idea to try native options.
pyautogui
pyautogui is one of those native options. Al Sweigart wrote a great little intro that I highly recommend reading. The tool is simple and fast, which is what we're looking for.
pyautogui-geometry.py |
|
1 2 3 4 5 6 7 8 9 10 11 12 13 14 15 16 17 |
"""This file illustrates a basic pyautogui setup""" |
$ python scripts/pyautogui-geometry.py |
pyautogui can also work with the screen's images and colors. Detecting color under the cursor is a great way to trigger actions, especially in routine applications.
pyautogui-pixel-color.py |
|
1 2 3 4 5 6 7 8 9 10 11 12 13 14 15 16 17 18 19 20 21 22 23 24 25 |
#!/usr/bin/env python |
$ python scripts/pyautogui-pixel-color.py |
Unfortunately, pyautogui is super slow. No matter what, it screenshots everything, then returns what you requested.
pyautogui-pixel-color.py |
|
1 2 3 4 5 6 7 8 9 10 11 12 13 14 15 16 17 18 19 20 21 22 23 24 25 26 27 28 29 30 31 32 33 34 35 36 37 38 39 40 41 |
"""This file illustrates the similar run time between regions and full screenshots""" |
$ python scripts/pyautogui-full-vs-region.py |
Smaller screens will do better; the docs mention this. I was able to cut my time by disabling my second screen. That's neither fun nor practical, so I put pyautogui aside for now.
Frankenstein
I have to admit, I was kinda stumped at this point. pyautogui is well-written and seriously vetted. I too would have gone the screenshot route, which means I too would be much too slow. A different approach is necessary, but I don't know what.
Luckily I stumbled into xwd via a wonderfully succinct bash solution. It's the X Window Dumping utility. That's insanely useful here, since X is what runs the system. xwd, in theory, has all of the screen information I could want. The linked solution uses ImageMagick to convert the dump; not only did I not know it was possible to get an X dump, I also did not know ImageMagick would parse it beautifully (I would have guessed that part eventually).
bash
|
xwd-convert.sh
|
|
1 2 3 4 5 6 7 8 9 10 11 12 |
#!/bin/bash |
$ scripts/xwd-convert.sh |
That's even slower than pyautogui. To be fair, we should probably build it in Python.
Disconnected and Secure
In order to convert it to Python, we'll have to break the pipes. Shell injection is no joke.
xwd-convert-disconnected.py |
|
1 2 3 4 5 6 7 8 9 10 11 12 13 14 15 16 17 18 19 20 21 22 23 24 25 26 27 28 29 30 31 32 33 34 35 36 37 38 39 40 41 42 43 44 45 46 |
"""This file runs several commands without allowing them to communicate directly""" |
$ python scripts/xwd-convert-disconnected.py |
However, that didn't seem to give us any extra time. Chaining the commands might work in our favor here.
Chained
Rather than totally isolate the commands, we can redirect their output. It's not quite a shell, as the output from one is finished and sanitized before being sent on, but it functions in a similar manner.
I spent at least an hour trying to figure out how to multiplex stdin on the file command. If you know of a clever way to do that without setting environment variables, I'd love to hear about it. I wasn't able to come up with anything that worked, so the coordinates aren't part of the pipe chain.
xwd-convert-chained.py |
|
1 2 3 4 5 6 7 8 9 10 11 12 13 14 15 16 17 18 19 20 21 22 23 24 25 26 27 28 29 30 31 32 33 34 35 36 37 38 39 40 41 42 43 44 45 46 47 48 49 50 51 52 |
"""This file runs several commands by linking stdout and stdin in subprocesses""" |
$ python scripts/xwd-convert-chained.py |
It's still absysmally slow. We haven't actually changed how we're getting the dump and parsing it, so that makes sense.
Shelled
DON'T DO THIS IN PRODUCTION. The docs will warn you too. I threw this script together quickly to make sure everything was working as intended.
xwd-convert-dangerous.py |
|
1 2 3 4 5 6 7 8 9 10 11 12 13 14 15 16 17 18 |
"""This file contains code to monitor the desktop environment""" |
$ python scripts/xwd-convert-dangerous.py |
Once again, we're not seeing a time boost because we're just shuffling code around. The important bits haven't changed.
Xlib
I spent most of Saturday trying to figure out how to parse a xwd result in Python. I got absolutely nowhere. There are many good resources and several example parsers, but nothing worked out of the box for me. The header that describes the dump, XWDFile.h, is apparently different enough across distros that, in combination with having absolutely no idea how properly parse binary files, I couldn't figure it out. I discovered this morning that I had been using a newer (or older?) version of the file with some major differences (e.g. 32bit vs 64bit) as a reference.
$ sudo find /usr -type f -name 'XWDFile.h' |
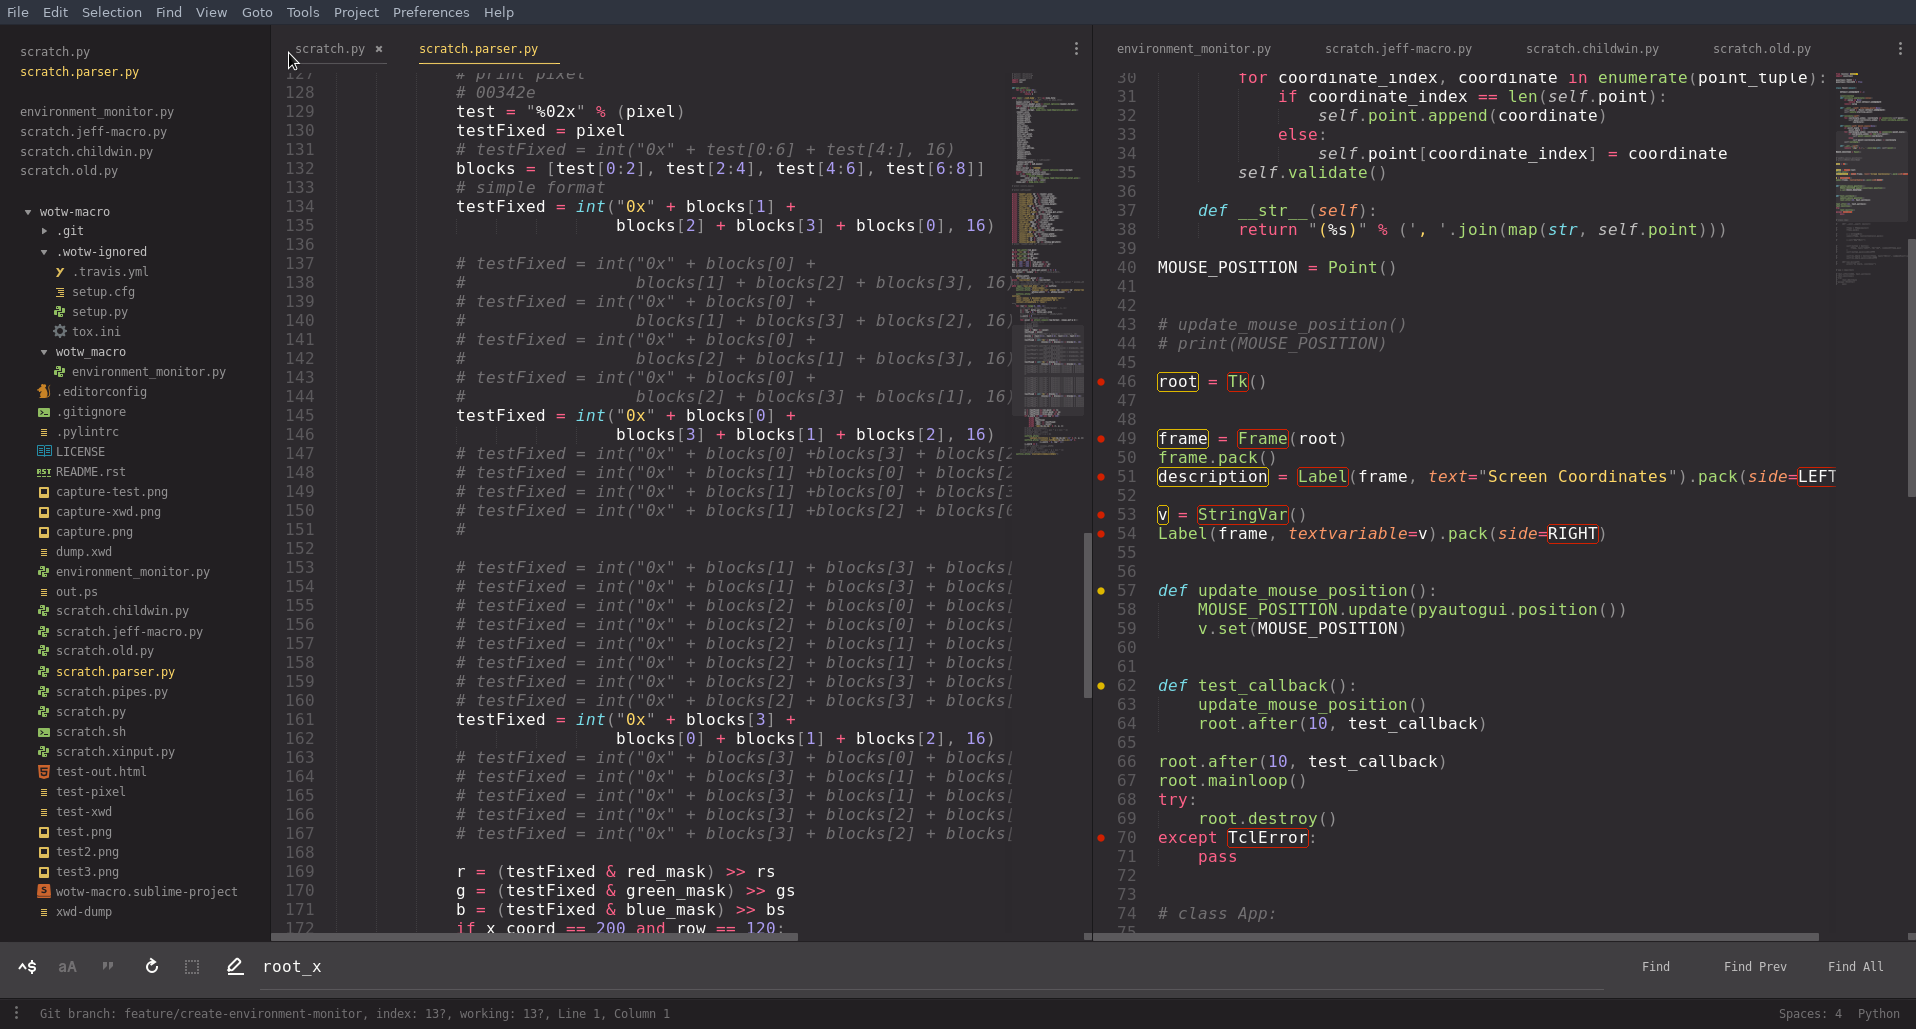
However, even knowing that in hindsight, I lost interest in parsing the dumps manually somewhere around the fourth hour of knowing the byte order was wrong but having no idea how to debug it. The image at the top of this post shows some of my failed attempts to test and retry. I learned quite a bit about X11 muddling my way through it, so I was able to refine my research and started getting useful hits. Eventually, I discovered this SO answer, which gave me the library I needed to track down.
The Python X Library, python-xlib, provides some of the items from Xlib and seems to be the best package at the moment. I neither know enough about X11 nor care to spend the time comparing interfaces to fully grok the differences; many elements covered in the X11 docs (e.g. AllPlanes) are either missing from python-xlib or do not appear to work as the external docs suggest. The library works, I was able to stumble my way through the hand-wavy docs, and, best of all, it blows everything else out of the water.
xlib-color.py |
|
1 2 3 4 5 6 7 8 9 10 11 12 13 14 15 16 17 18 19 20 21 22 23 24 25 26 27 28 29 30 31 32 33 34 35 36 37 38 39 40 41 42 43 44 45 46 47 48 49 50 51 |
#!/usr/bin/env python |
$ python scripts/xlib-color.py |
So far, it looks like this script can consistently poll cursor colors in fewer than five milliseconds. Everything else takes at least 250 milliseconds. Depending on how fast and loose you want to play with the numbers, this solution is at least a 97.5% reduction (200 to 5) and optimistically closer to a 99.6% reduction (300 to 1).
Caveats
I'm sort of waving my hands at a few things here because I still don't fully understand them yet.
- I do not understand the bitmap side of things, i.e.
XYPixmaps. I don't feel all that good aboutZPixmaps either but they're at least composed of RGB triplets which is something I do get. - Speaking of
ZPixmaps, I had quite a bit of trouble withplane_masks as well. They're used to hide unwanted bit planes, which I just realized writing this sentence isn't anything more special than masking bits. That being said, it's not documented well in X11 and at all inpython-xlib. - The pixels in
ZPixmaps return strange data structures. This is 100% my inexperience with Python and its advanced data types. I will eventually break down the code and figure out what it's doing.
Also, python-xlib is really awesome. I've made some comments that could be taken as passive aggressive stabs at the devs, and I want to make sure that misconception is cleared up. They've built some amazing software, they're working hard to make the world a better place, and I'm stoked about their contributions.
I'm going to follow this up with another post or two playing with this stuff, doing some analysis, and trying out some implementations.